


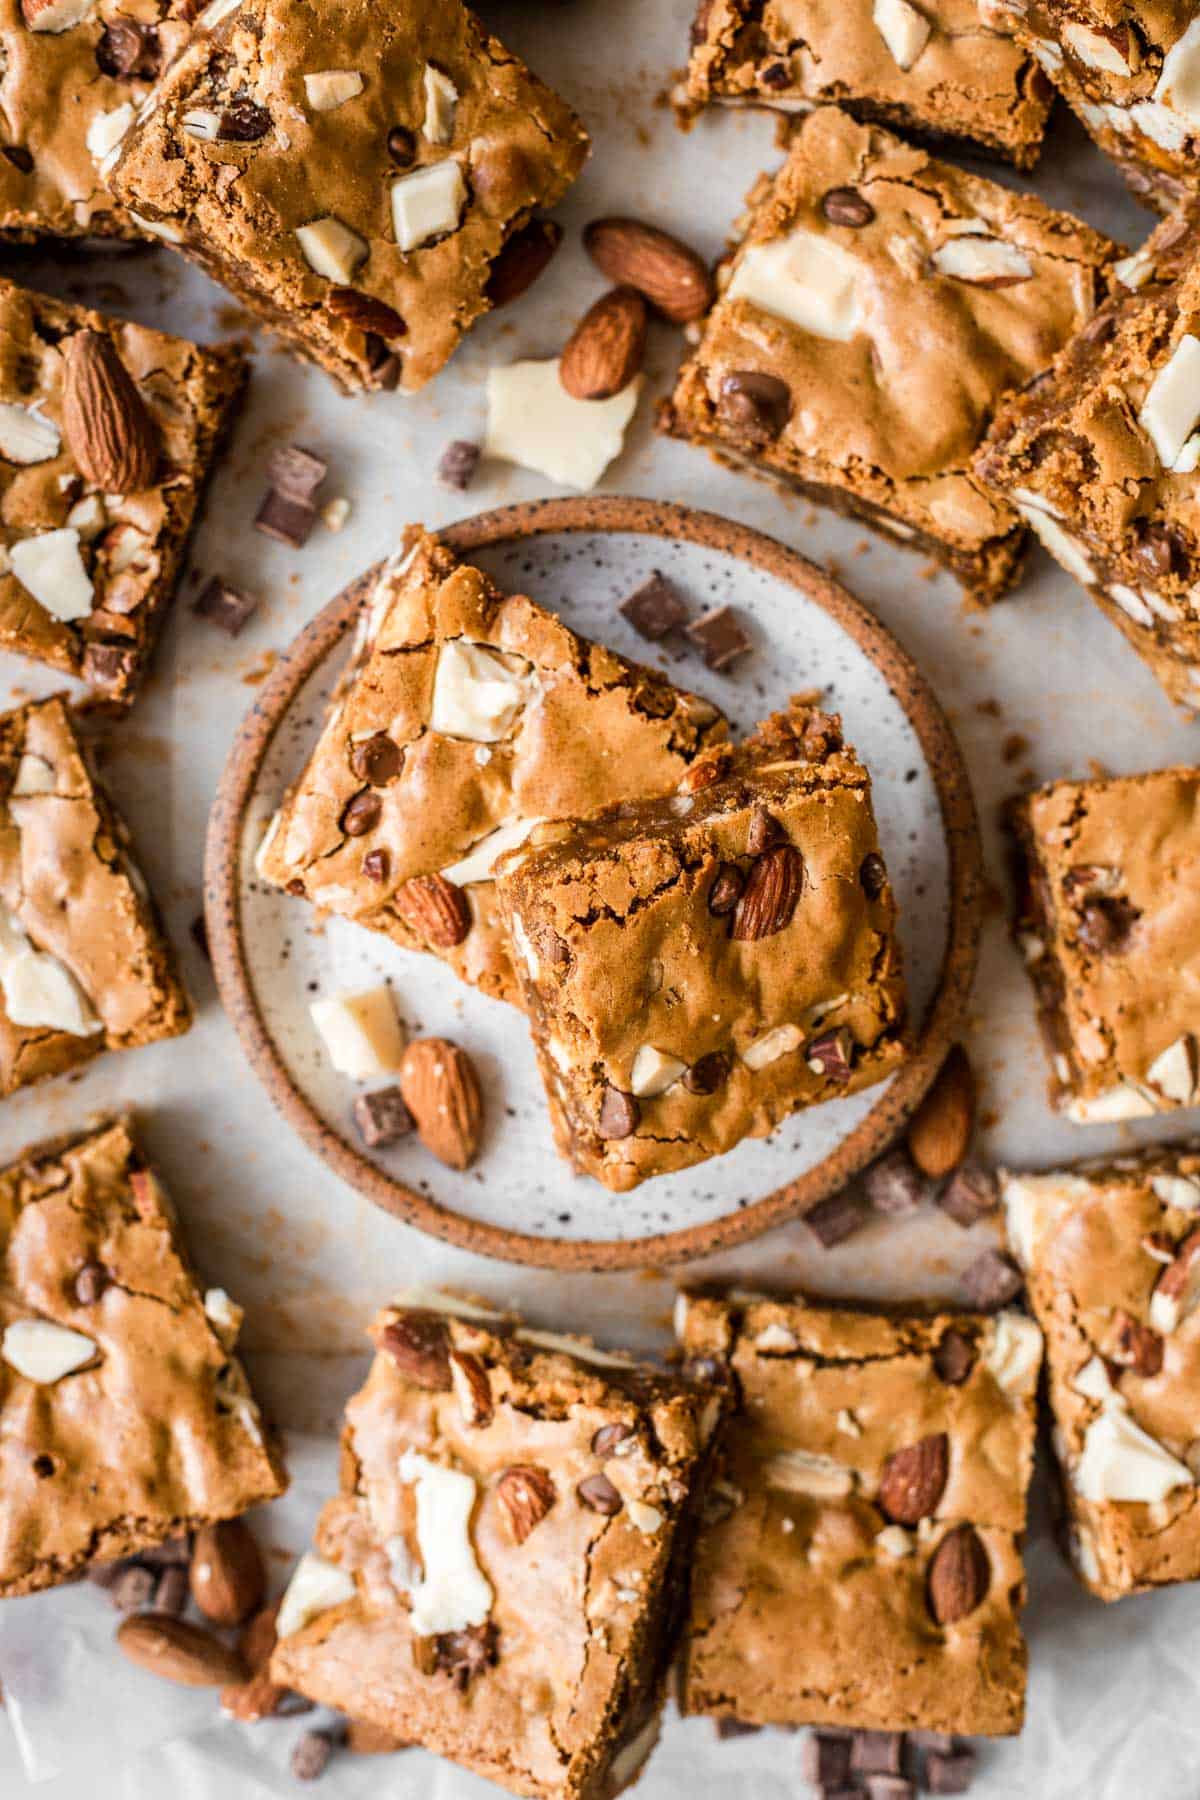
Chewy Brown Butter Blondies are one of the simplest bars to make with maximum flavour. Soft and fudgey, with a beautiful caramel, nutty undertone and loaded with white and milk chocolate and almonds. They are hard to beat.
Brownies and Bars are a firm favourite snack at home. They're simple to make, serve many, and can be eaten for a teatime treat or turned into a delicious dessert with the addition of a scoop of ice cream. My Strawberry Crumble Bars are a perfect small-batch treat, whilst my Cherry Brownies use in-season cherries to perfection.
This Chewy Blondies Recipe is delectable, to say the least. I browned the butter in these so that I could maximise the nutty notes of the brown butter alongside the molasses flavour from the brown sugar. The taste is well-rounded, rich, nutty and sweet, but not cloyingly so.
The white and milk chocolate adds another fantastic flavour, whilst the almonds complement the nuttiness and add a fab crunch. With a papery thin top and a fudgy, soft centre, these White Chocolate Blondies are delicious in every way.

My love affair with brown butter blondies first started whilst living in Sydney, Australia. They're a popular café treat over there, and when we moved back to London, UK, I knew that I would have to re-create them. After much recipe testing to get that perfect fudgy center, chewy texture (this was super important to achieve), and a crackly top, I believe I've nailed it!
Check out my Banana Chocolate Chip Bars that use the blondie recipe with bananas for the ultimate banana bread-tasting blondie! The perfect mashup!
Jump to:
🌟 Why You'll Love This Recipe
- Comes together quickly. These blondies can be made and put in the oven in under 20 minutes and you let the oven do the rest of the work!
- Pantry ingredients. With under 10 ingredients needed to make these, you'll most likely have them in your pantry or fridge making these easy to make when the cravings are real!
- You can create your own adventure. I love the fact that you can swap out the chocolate and almonds for any other type of chocolate, dried fruit, or nuts. You can literally go with what you feel like at that minute!
- Makes the perfect portable snack. Baked in a paper sling, once cooled, the blondies can easily be removed and cut into squares, and transported. Office potluck here we come!
🧾 Ingredients Needed
Some compare blondies to cookie bars, but I have to say that these are stand-alone dessert recipes by themselves. All the ingredients are basic pantry or refrigerator ingredients.
If you organise your panty/fridge as I do, then I know I have everything on hand. Check out my insightful guide to What's In My Baking Pantry for some invaluable tips.

- Butter - Unsalted butter is used. Don't worry about cold or room temperature as it will be melted and browned in the first step of the recipe. Unconfident when browning butter- don't worry, I go into detail a bit further down the post.
- Brown Sugar - Using brown sugar adds extra caramelly notes to the blondie from the high levels of molasses in the sugar. Not only does it pack in flavour but also moisture to the chewy blondies.
- Eggs - I use large eggs in all my recipes. Here 2 whole eggs and 1 extra egg yolk is used. The extra yolk adds richness and more chew to the texture. The eggs in general, bind the ingredients together and add moisture.
- Vanilla Extract - You can use vanilla bean paste, or the seeds of a vanilla pod as an alternative. The vanilla adds another layer of flavour that works well with brown sugar and white chocolate.
- Salt - Absolutely necessary to balance out the sweetness from the sugar and white chocolate.
- Chocolate - I've included the white chocolate in bar form chopped up for the large white chocolate puddles it provides. The milk chocolate chips hold their shape more but the ones in the middle melt into the blondie making it even fudgier!
- Almonds - A fabulous addition to these chewy blondies to accentuate the nutty notes of the brown butter. Leave the nuts out if you aren't a fan.
📖 Variations
I adore the flavour combination of the almonds, white and milk chocolate and almonds in this recipe, but I've created a great base recipe that you can add in some super alternatives. Here are my favourites:
- Raspberry Blondies: Add a cupful of fresh or frozen raspberries and stir through the batter. The sweet fruit will sit perfectly alongside the blondie taste.
- Biscoff Blondies: Swirl this awesome spread throughout the batter for a flavour boost.
- Blueberry White Chocolate Blondies: Juicy blueberries dotted throughout a lemon-flavoured batter along with white chocolate is divine.
- Dark Chocolate Walnut Blondies: Probably my favourite flavour add-ins. The bitterness of the dark chocolate balances out the sweetness of the blondies and the walnuts emphasize the nutty brown butter taste.
Other flavour add-ins you might like can be dried fruit like cherries or cranberries, fresh fruit such as strawberries or blackberries, or other types of nuts like hazelnuts or macadamias.
👩🏻🍳 How to Make
*Be sure to see the recipe card below for the full ingredients list & instructions!*
I can't say it enough, these really are the best Brown Butter Blondies as they're so simple to make yet taste so incredible. I think the hardest part is browning the butter, but because I describe to you exactly how to do this, you won't have any problems at all. The rest is a piece of cake, so without further ado, let me show you exactly how to make these blondies.
Make sure to check out my Guide on How To Brown Butter for my detailed step-by-step instructions and process imagery.

STEP 1. Brown the butter. Turn normal melted butter into a thing of nutty goodness in one simple step. Add the butter to a saucepan set over medium heat and allow the butter to melt.
Once melted, the butter will start to foam and bubble (Image 1) and this is the point that the milk solids have separated from the fats and they'll start to caramelize on the base of the saucepan. Watch the yellow butter turn golden and then brown.
Once the butter is browned, take the pan off the stove and pour it into a bowl. The butter can go from brown to burnt quite quickly. Set the butter aside and cool for ten minutes (Image 2).
TIP: Brown butter bits
Once the brown butter is poured into a bowl, make sure to scrape out all the brown bits that are stuck to the bottom of the saucepan. These bits are where all the nutty, rich flavour is held.

STEP 2. Prepare your pan. Grease and line the base and sides of a 23 x 23cm (9x9-inch) square baking pan and set it to one side. Check out my handy tip below (Image 3).
TIP: Paper Overhang
Make sure that the baking paper overhangs the sides of your baking pan. Once the blondies are baked, you can easily lift out the blondies to place them on a wire rack to cool completely. Such a simple tip that really helps later on!

STEP 3. Mix sugar into the butter. Whilst the butter is still warm, add the brown sugar into a bowl and mix with hand-held electric beaters until the sugar is mixed in and the butter has cooled slightly (Images 4 & 5).

STEP 4. Add eggs and beat. Add the 2 eggs, 1 egg yolk and vanilla extract into the bowl and beat with the electric hand-held beaters until the batter is pale in colour and thickened. This can take a couple of minutes to achieve (Images 6 & 7).
TIP: Aerate the eggs
By beating the eggs into the sugar and butter until they are pale, you are incorporating lots of air into them, kind of like a meringue. In the oven, the top of the blondies bakes to form a thin shiny crust. This is exactly what we want!

STEP 5. Sift in the dry ingredients. I'm all about saving time washing up, so I don't ask you to sift the dry ingredients into a separate bowl and then add it to the batter. Nope. Sift that flour, baking powder and salt right on top of your batter (Image 8). And then fold it in with a rubber spatula- but only until you see some flour streaks remain (Image 9). This ensures you don't overmix it!

STEP 6. Add the flavourings. Now's the chance to add in your flavourings (Image 10). Obviously white chocolate, but I also included milk chocolate chips and chopped almonds to bring out the nutty flavours and add textural contrast. Stir those in until just combined (Image 11).

STEP 7. Bake. Pour the batter into the prepared pan and level off with an offset spatula and sprinkle any extra flavourings over the top (Image 12)
Bake until the centre is just set and the top is golden (Image 13). The top will be shiny and paper-thin and the interior chewy around the edges and fudgy in the centre.
🥣 How To Serve
Set the baking pan on a wire rack and leave to cool completely. Then use the paper overhang to lift the blondie square out of the pan. For super neat edges refrigerate the brown butter blondie for an hour.
To cut the blondies, use a sharp knife run under warm water to heat the blade and cut. After every slice, wipe the blade clean. With this trick, you'll achieve super clean, neat edges like a pro.
Enjoy these cold, at room temperature, or warm - whichever way, these blondies will taste incredible. Secretly, I love these warm (microwave for ten seconds if need be) and topped with a cheeky scoop of vanilla ice cream. Just dreamy!

💭 Recipe Pro Tips
- Brown butter bits. Make sure to scrape all those brown butter bits from the bottom of the saucepan- that's where the flavor is held.
- Paper overhang. Set yourself up for success and make sure to use the baking paper as a sling.
- Glossy, crackly thin top. The surefire way to get that golden papery thin shiny top is to whip the eggs until pale and thick so that they can work their magic once baked.
📋 Recipe FAQs
They are essentially the fairer cousin of a brownie. They are a rich and quite sweet dessert made up of flour, butter, eggs, brown sugar, vanilla and baking powder.
Unlike a brownie, they don’t have any cocoa powder in them. This allows the flavour of the brown sugar to shine through and this gives the blondies a beautiful caramel taste too.
Absolutely not. I do it as I love the extra layer of flavour that brown butter imparts, but if you don't fancy it, then just melt the butter as normal and carry on with the recipe.
Two things spring to mind. It could be as a result of measuring out your flour with a cup rather than by using digital scales. There is far higher room for error when measuring with a cup as you can inadvertently measure too much flour into the batter making it cakey.
Oven temperature and the length of time baking play a huge part. I give my temperature and baking time guide but everyone's oven runs slightly differently. Overbaking will cause the blondies to lose their fudginess and develop more of a cakey texture.
❄️ Storage and Freezer Instructions
To store: Store these Brown Butter White Chocolate Blondies in an airtight container at room temperature for up to 4 days or refrigerate for up to 7 days.
To freeze: Freeze individual blondies wrapped well in plastic wrap for up to 3 months. Thaw at room temperature and enjoy.
🍫 More Chocolate Recipes
If you tried this Chewy Blondies Recipe or any other recipe on my website, please please leave a 🌟 star rating and let me know how you go in the 📝 comments below. I love hearing from you!
📖 Recipe

Chewy Brown Butter Blondies Recipe
Ingredients
- 170 g unsalted butter
- 330 g brown sugar, firmly packed
- 2 large eggs
- 1 large egg yolk
- 2 teaspoon vanilla extract
- 220 g plain flour (all-purpose)
- 1 teaspoon baking powder
- ½ teaspoon fine salt
- 100 g white chocolate , coarsely chopped
- 100 g milk chocolate chips
- 140 g almonds, coarsely chopped
Instructions
- Brown the butter. Pre-heat oven to 170°C (340°F). In a small saucepan over medium heat, melt your butter. Continue to cook until the butter is golden brown and has a nutty fragrance. This takes about 4-5 minutes. Note that the butter turns very quickly from golden to burnt, so keep an eye on it. Remove from the heat, pour into a large mixing bowl, and leave at room temperature cool for ten minutes.
- Prepare your pan. Line a 23cm (9-inch) square baking pan with parchment paper. Leave an overhang on the sides so that it is easy to lift the blondies out after they are baked.
- Mix sugar into the butter. Into the bowl with the brown butter, add brown sugar and using hand-held electric beaters, to beat on high until well mixed in.
- Add eggs. Add the 2 eggs, the 1 egg yolk and vanilla extract into the mixing bowl and using the hand-held electric beaters on high speed, beat until the mixture is visibly paler and thicker. This can take 3 to 4 minutes to achieve. The length of time not only cools the butter down but also aerates the eggs.
- Add dry ingredients. Sift into this mixture the flour, baking powder and salt and fold through using a rubber spatula until a few flour streaks remain.
- Add chocolate and nuts. Fold in the white and milk chocolate and almonds until just combined. Spoon batter into the prepared baking tray and level with an offset spatula. Sprinkle any extra nuts or chocolate over the top.
- Bake. Bake for 25-30 minutes or until lightly browned on top and the sides are set, and a toothpick inserted into the centre comes out with a few moist crumbs. Rotate the pan halfway through baking. Remove from the oven and let sit in the pan for ten minutes. Using the paper, lift the blondie square out onto a wire rack and leave to cool completely. Use a sharp knife, to cut into 16 squares and serve immediately.
All recipes are developed and tested in Metric grams. I strongly recommend that you bake using digital scales for a more accurate result. I have provided a conversion to US customary in the recipe but please note that I haven’t tested using this method.
Notes
Nutrition
This post was originally published in November 2019 but has been updated with new photos, new content and a revised recipe.


Cindy says
I am on team blonde all the way. I think that brownies get way too much undeserved love.
Browned butter makes everything better. Can’t wait to bake these.
Emma says
Ha! I totally agree with you. They have such a subtle nutty flavour that I love! My next batch, I want to add raspberries to these- yum!!
Sarah says
I made these White Chocolate Blondies over the weekend and oh my word- what a delight- huge hit in our household- kids loved them. Browning the butter is a fab tip- adds so much flavour and takes no time at all. These are the best! Sarah
Wendy says
Fantastic recipe. Your instructions are so clear and easy to follow. Tips were great, especially helpful for a self-taught home baker like myself. Thanks so much for sharing. Look forward to trying out your other recipes soon.
Emma says
Hi Wendy - thanks so much for the review on my white chocolate blondies. I love creating my posts with lots of useful info so that any baker can tackle a recipe confidently 🙂 So glad you found this gave you confidence. x
faye says
Delicious!!